Build Email List Starter Template
Capturing the emails of your leads is super easy with this MobileMonkey template.. There are only a few steps to get it up and running so you can start collecting leads immediately.
Video Walkthrough
If you want to watch step by step how to install and configure this template watch the video below. All of the documentation is also below this video.
Part 1 | Install the Template
- From your MobileMonkey dashboard click on the settings icon on the far right.

- Now click on the "Templates" link on the bottom left.
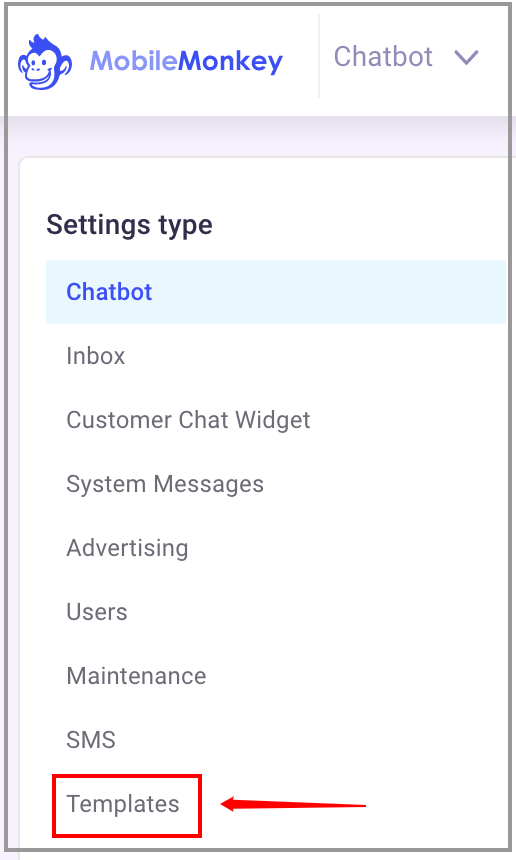
- Look for the "Build Email List" template and click on the image and click on it.
- Choose "Create New Bot".
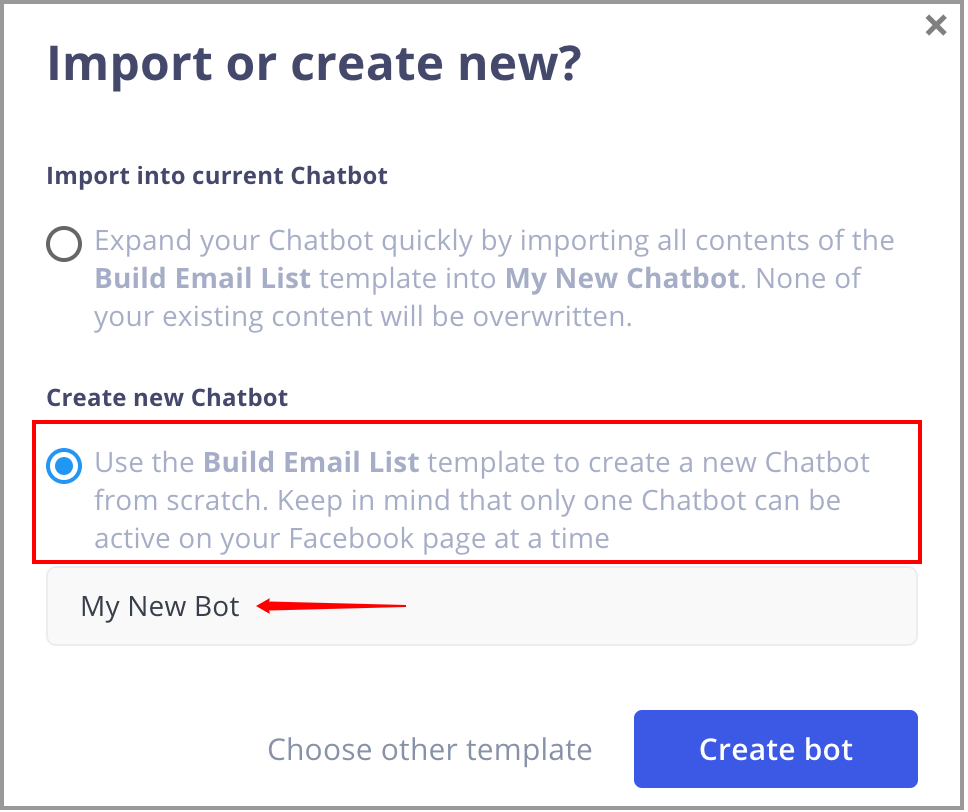
You will see your template being installed and when it's ready you will see the following message.
- Click the "Take me there" button.
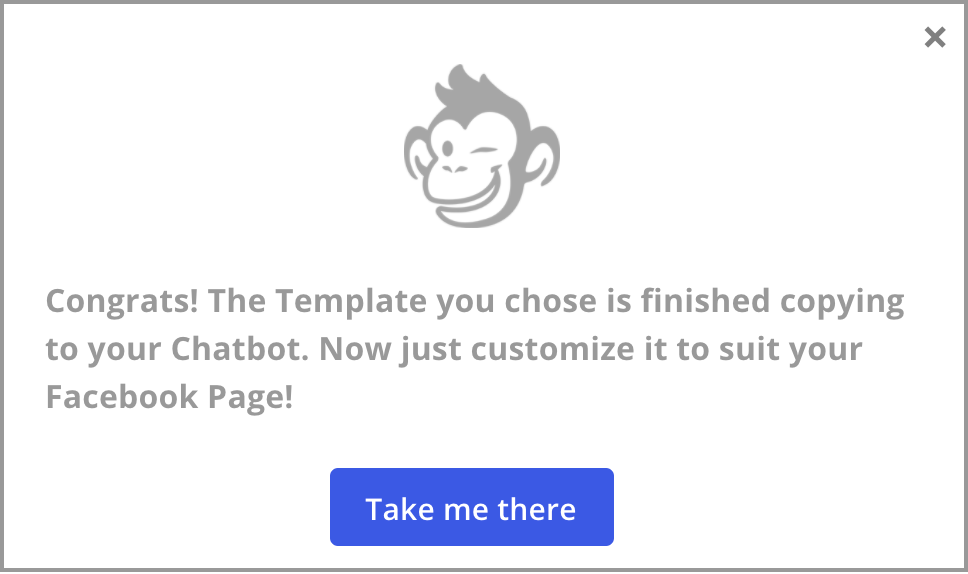
This will take you to your newly installed bot. Now you just need to make a few updates and you'll be ready to start getting leads.
Part 2 | Configure your Facebook Page Welcomer
This Chat Starter Template has been created for you to be able to get started right away with little configuration. There are only a few things you need to update.
Once you are done updating you can activate your bot and start using it.
Below this helpdoc we will provide links to some helpful information to further build out your bot when you're ready.
- The first thing you want to do is click on "Chat Starters" link on the top left.
Then click on the "Facebook Page Welcomer" link on the right side.
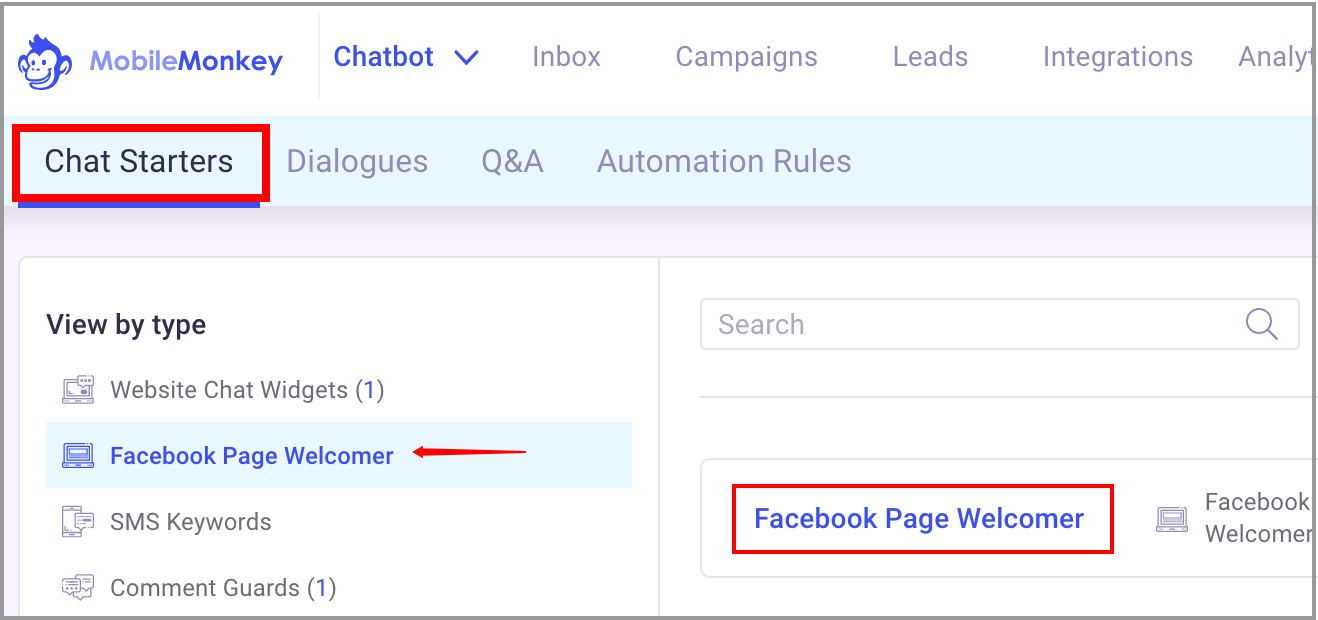
You will now see the main Chat Starter.
Here you will see the main bot that we have created for you. The first thing you need to configure here is the first message.
- Replace "{{company name}}" with your company name. You can also add more if you want.
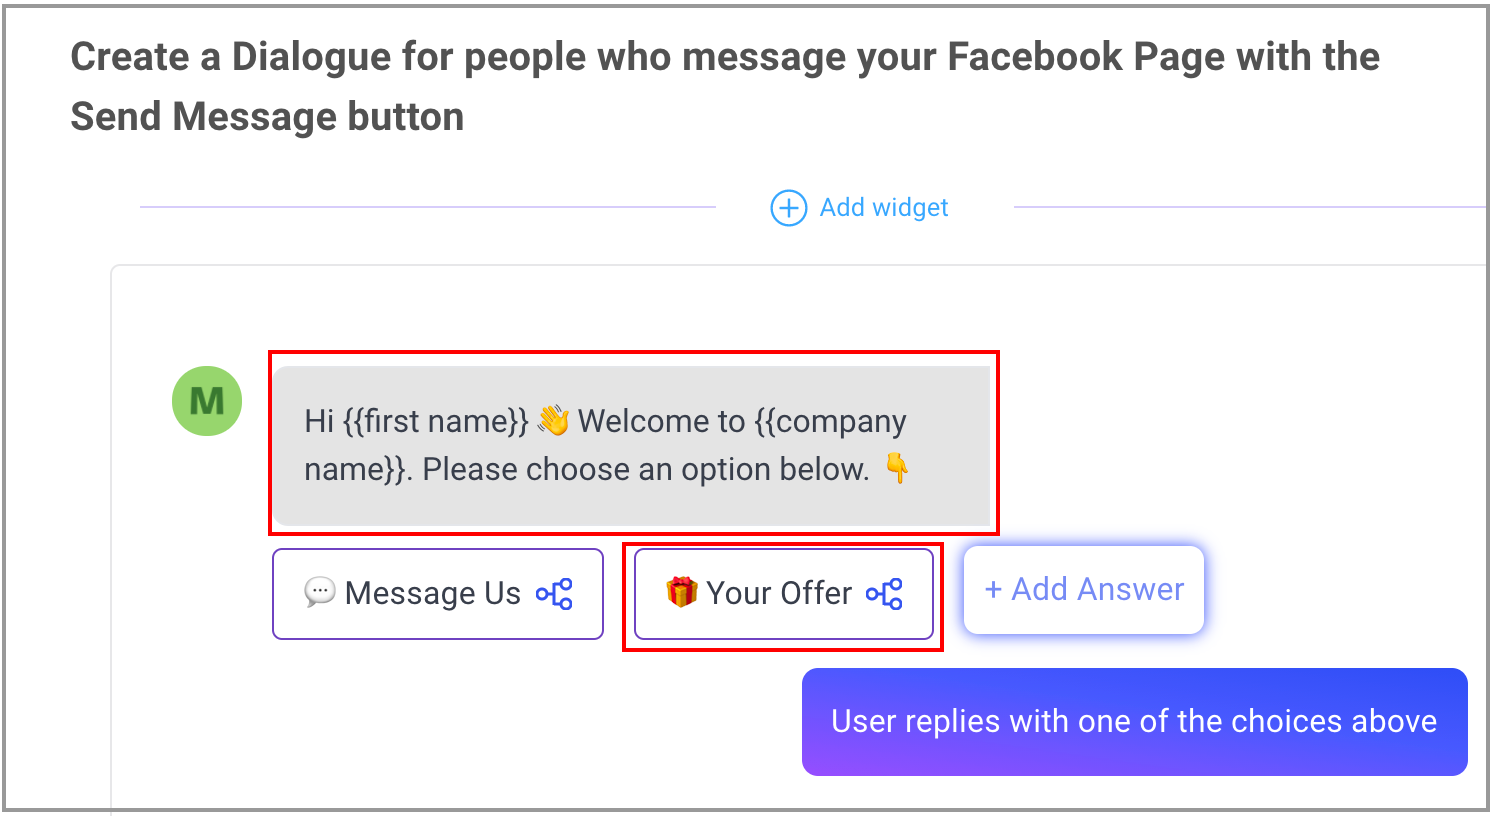
- The next thing you want to do is click on the button that says "Your Offer" and rename it.
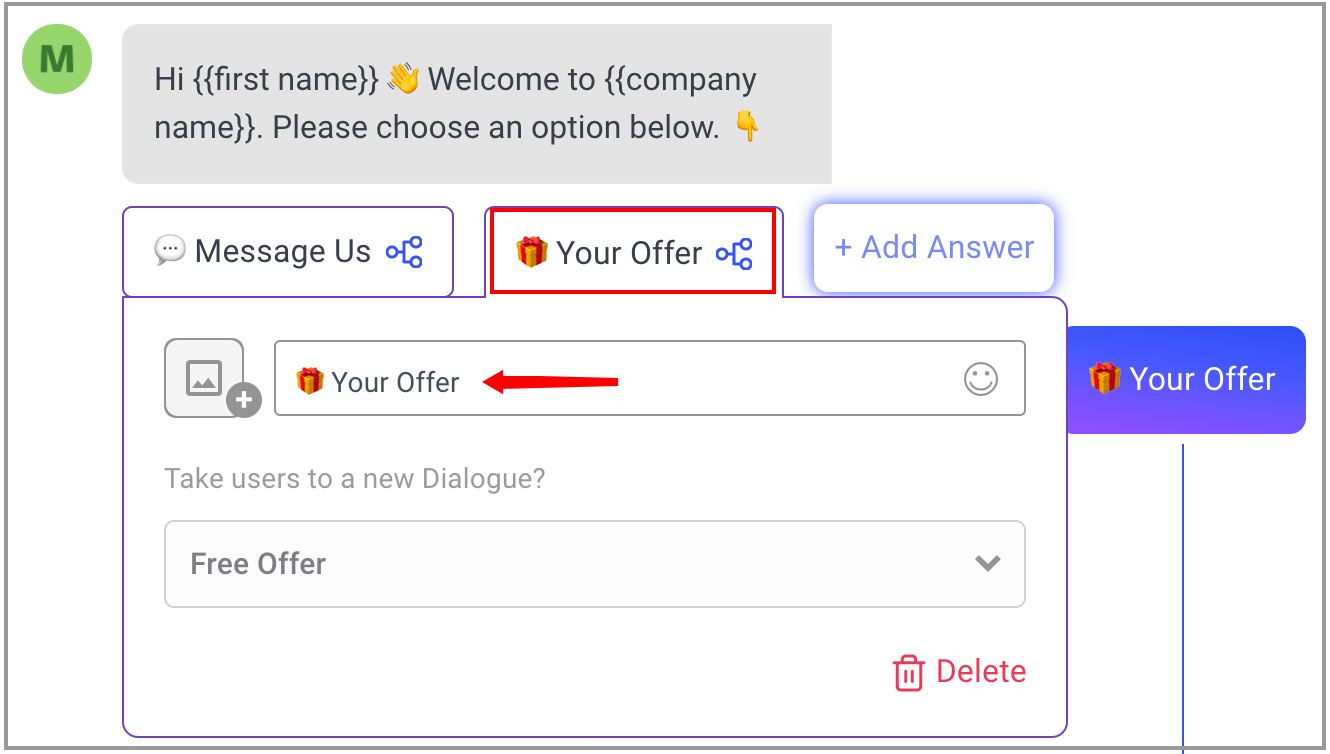
- Now scroll down the page till you see the following message and update the "{{offer}}" with your offer name.

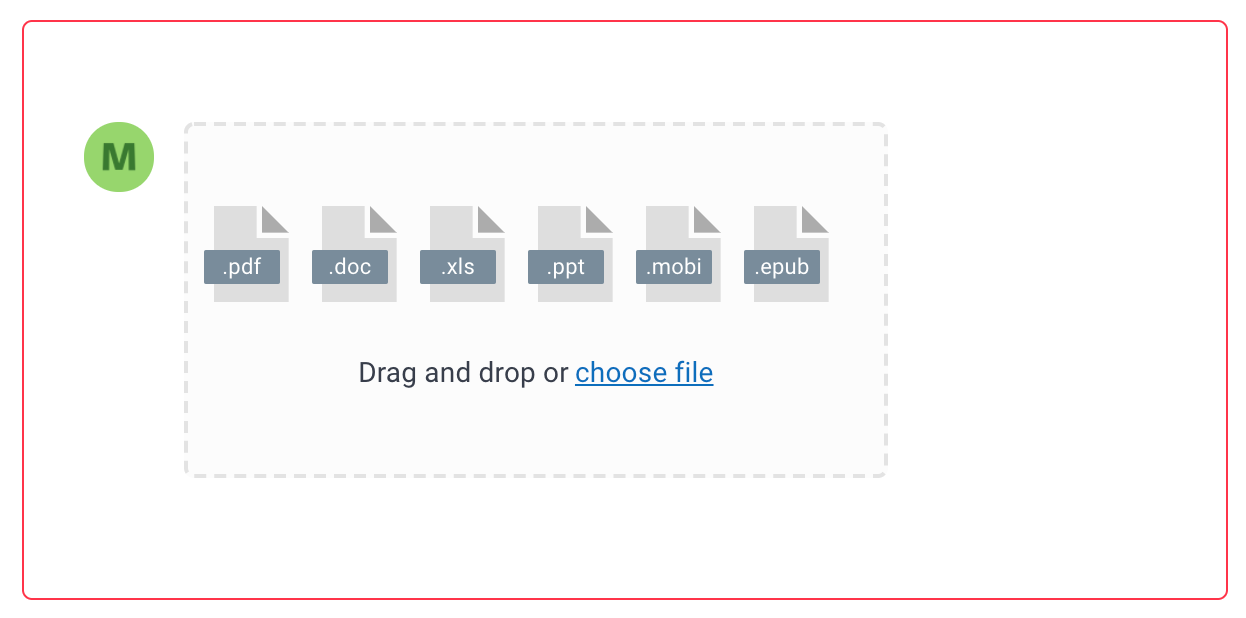
- Now scroll down a little more till you see the attachment widget. Click on this to upload your PDF lead magnet. This will then be sent to your user when they enter their email.
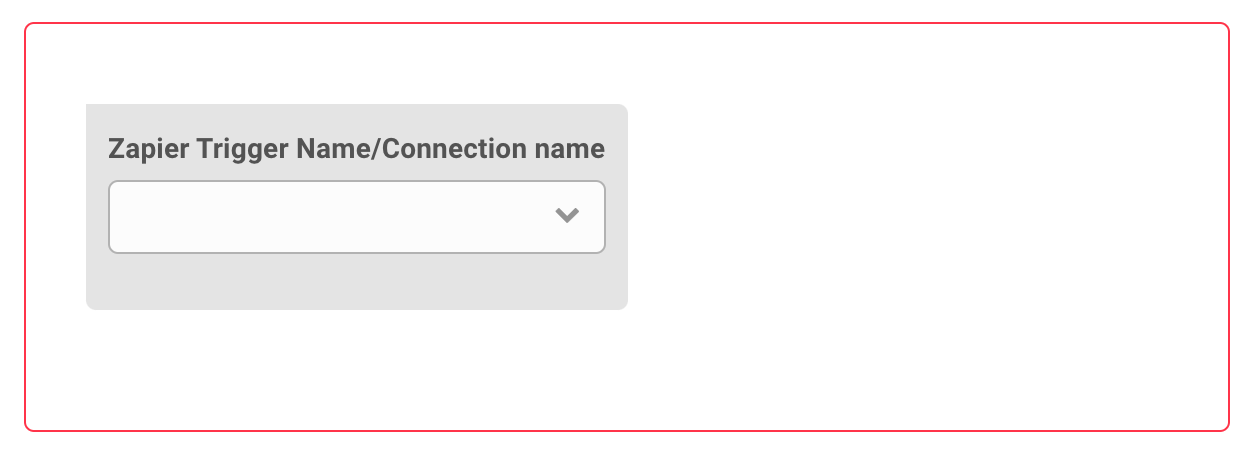
- The next thing you are going to see is the Zapier Widget. This widget enables you to connect with your CRM or a spreadsheet to transfer the data from MobileMonkey. We have included a link below with instructions on how to enable this if you want to.
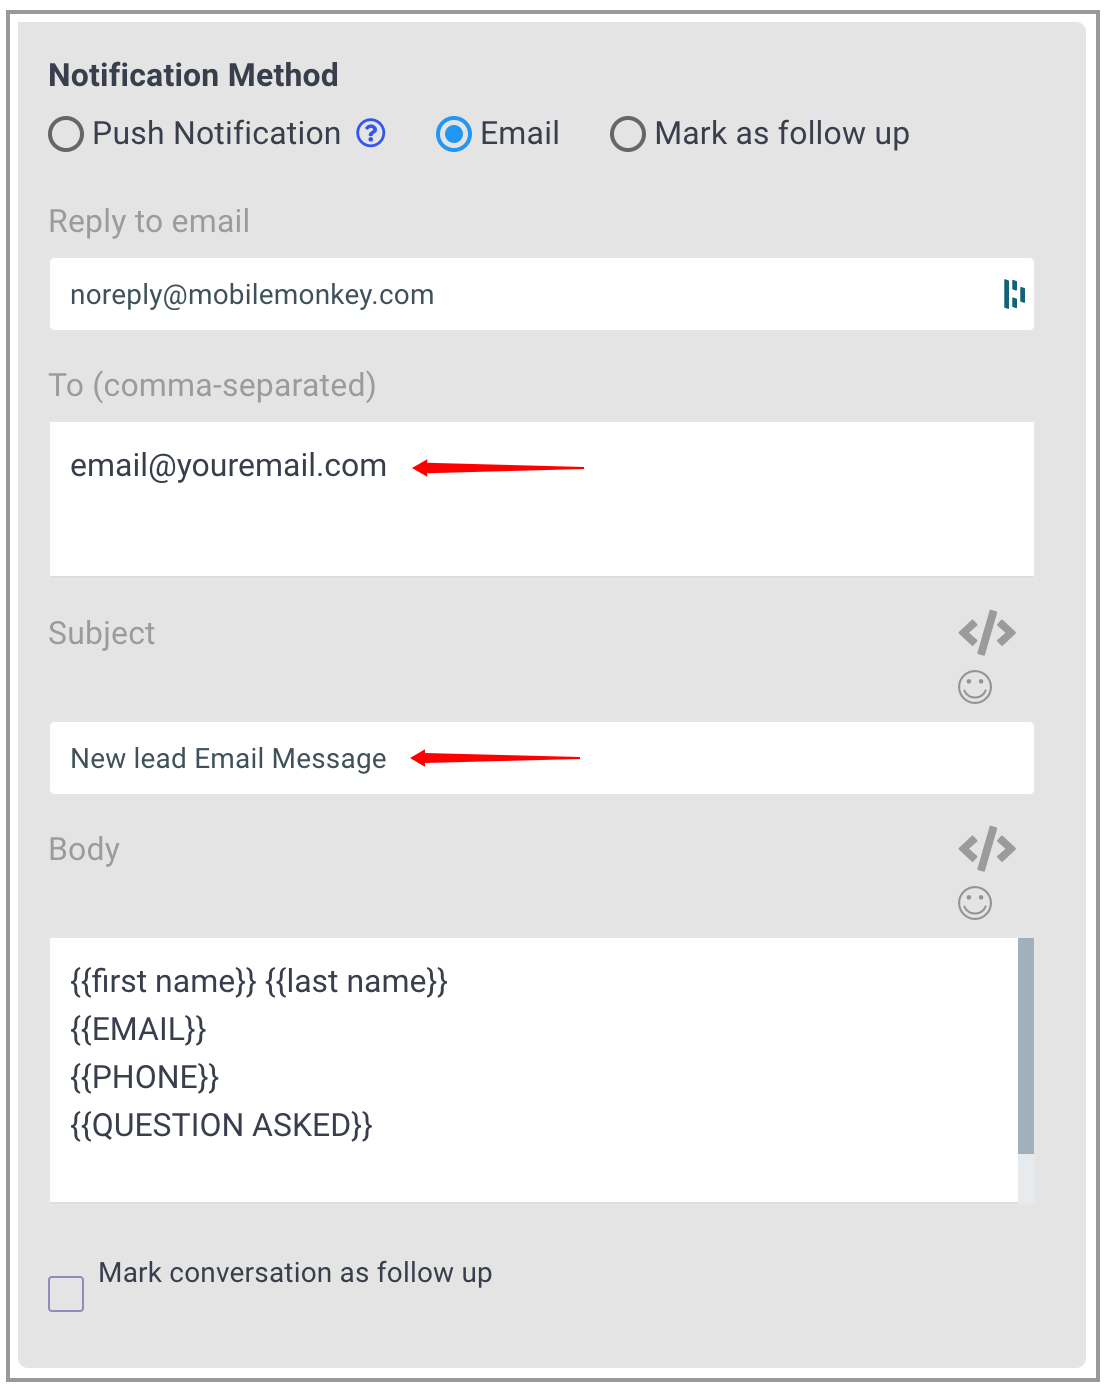
- Now scroll down to the end till you see the notification widget.
Update the "To" field with your email and change the subject if you want. Any time someone leaves their email it will get emailed to you.
- Now scroll to the top and click on the "Back Button" on the top left.
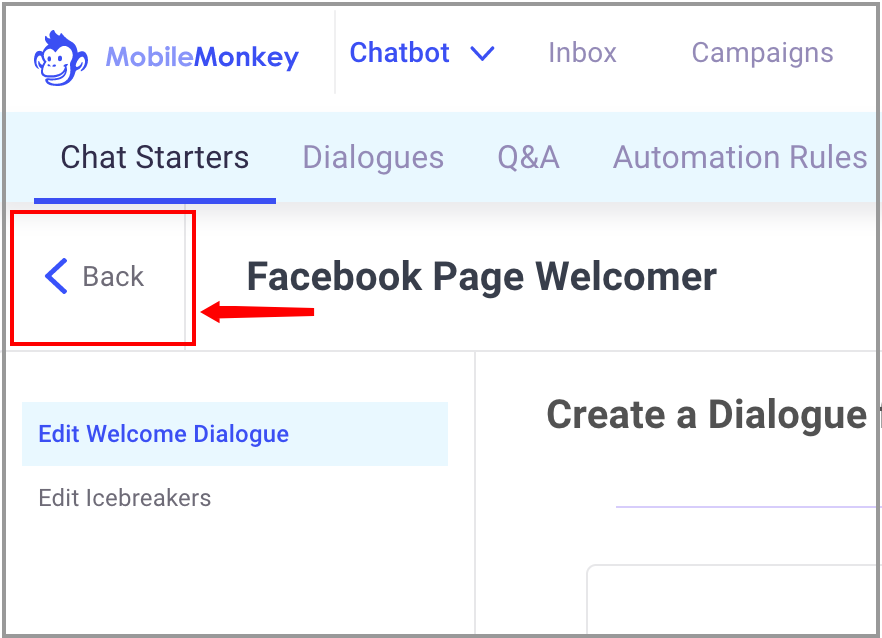
This will bring you back to the main menu with all of the chat starters.
Part 3 | Configure your Website Chat Widget
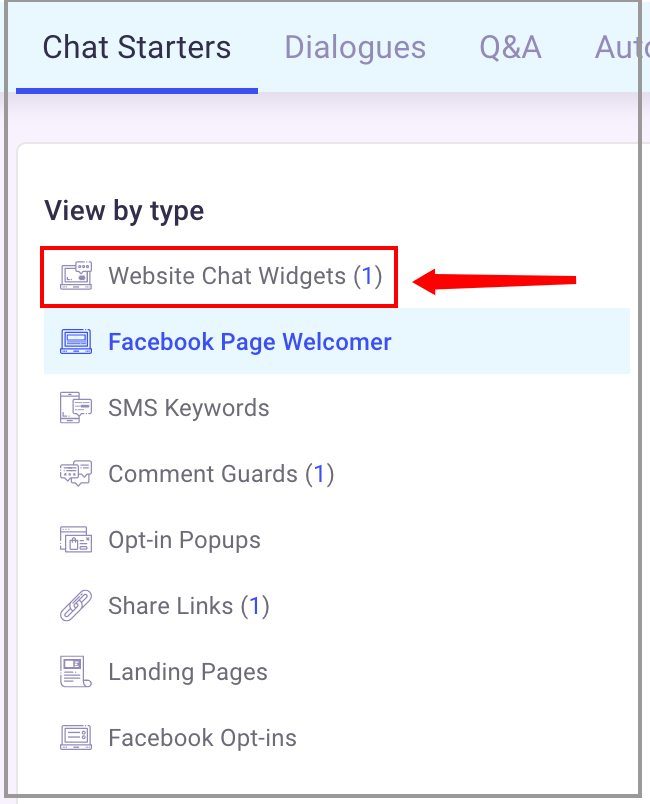
- Choose the "Website Chat Widgets" link.
This will give you a very similar chat starter as the Facebook Page Welcomer.
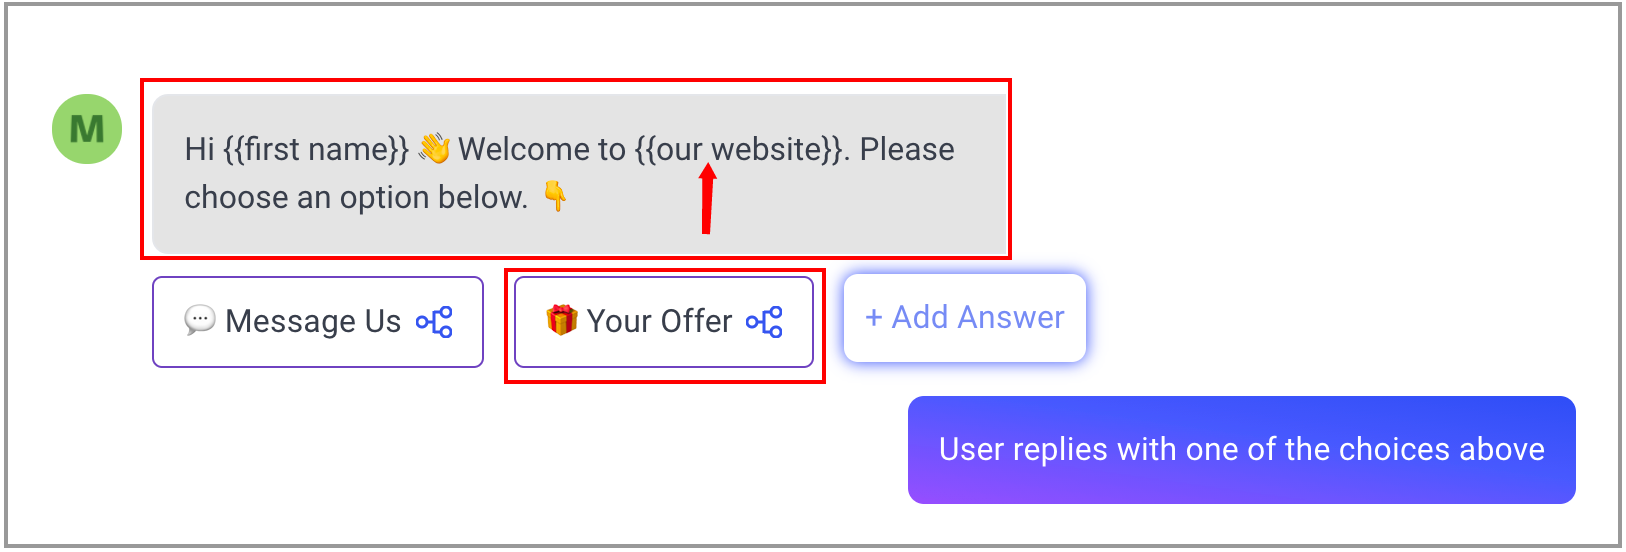
- Go ahead and update the "{{our website}}" with your website name or company name.
- Then change the "Your Offer" name like you did in the Facebook Page Welcomer. Now since these are using the same chat starter, you do not have to change anything else.
Let's move on to the next section. Go ahead and click the "Back Button" to get back to the main chat starters menu and click on the "Comment Guards".
Part 4 | Configure your Comment Guard
- Scroll down to Step 2 where the dialogue is and you will want to update "{{your offer}}" in the text box as well as the button.

- Then scroll up and click on the "Activate" button.
Exporting your email list
After you have collected emails how do you get them to your external CRM?
There are a few ways to do this. We're going to show you the manual way and the automated way.
You can export your list to a CSV file that you can then import into your CRM or auto responder.
- Click on "Leads" in the top menu and then click on the blue button on the upper right labeled "Export".
 |
Once you click on the "Export" button you will get the following dialogue box.
 |
Congratulations! You have configured your chatbot.
