Overview
X-Ray Pixel
X-Ray Pixel Installation Guide
Customizing X-Ray Capture Settings
Contact Suppression
X-Ray SDK for Custom Events
How to Activate the Upgraded Version of X-Ray
Leads & Audiences
Create Audience Segments
Import SMS/Email Contact List
How to Turn on Lead Alerts for X-Ray Website Visitors
Email Automation Builder
Enable Email Suppression List
Clay Integration via Webhooks
How to Activate Customers.ai ESP
Integrations
Email Integration
CRM Integrations
Mailchimp Integration
Klaviyo Integration Part 1: Connect Customers.ai to Klaviyo
Klaviyo Integration Part 2: Activate Klaviyo Signal to Boost Flows
Sendlane Integration
HighLevel Integration
Google Sheets Integration
JSON Webhooks
Integration via Shopify's Custom API
Connect Your Salesforce Account
Connect to Applications via Zapier
Connect Bloomreach to Customers.ai
Braze Integration Guide
Connect Attentive to Customers.ai
HubSpot Integration
Meta Ads Tools
Google Ads Tools
Create Google Ads Custom Audience
Automate Data Import from Google Sheets to Google Ads
Sync Customers.ai Audience to Google Ads
Finding your Google Ads Client ID, Secret Token
Analytics
How to Build a Custom Report of Sales by Customers.ai Revealed Contacts Synced to Klaviyo
Bot Analytics
Public API
FAQs
Bot Issues
I Cannot Login or Sign Up for a Bot with Facebook Login
I Cannot Connect My Page Page to MobileMonkey Bot
Web Chat Isn't Showing On My Website
Bot Send Credits
Increase in my Number of Contacts
How Does Unsubscribe Work?
My bot is Responding with the Default Message or a Different Message
My Bot Won't Respond at all
Bot Response Issues Overview
Send Overage Automatic Upgrades
I Can't Find My Old Bot or my Dialogues
How to redeem your Facebook Ads Coupon
MobileMonkey Bot Legacy Subscriptions
What's a Main Menu?
MobileMonkey Bot Pricing Plans
Can I Use SMS on My Subscription Plan?
Facebook Messenger Issues
Handover Protocol
How Do I Create a Lookalike Ads Audience from Bot Contacts?
How to Get Approved for Facebook Subscription Messaging
Can't Find my Messages / Customer Conversations Are Not in My Messenger Inbox
Why am I getting Product Alerts from my Facebook Page?
Facebook Permissions Issues
Edit Your Facebook Permissions
How to Test Synced Ads on Facebook Ads Manager
My Facebook page doesn't show up on the list of pages to connect
Why Do I Have To Sign Up With Facebook?
Remove other Connected Apps on your Business Integrations
Refreshing Your Facebook Connection
Facebook's 24-Hour Rule
FAQs about the CAN-SPAM Act
FAQs about the CCPA
Known Issues
Report a Bug
Too Many Bananas!
Refresh Page Access Token Error/ Update Permissions
Issues with Ad Blockers & Privacy Extensions
Website Widget Not Appearing on iOS 12.1
InstaChamp
Connecting your Instagram account to a Facebook page
Pre-requisites in Connecting an Instagram Page
Why do I need to sign up for InstaChamp with my Facebook login?
Why Do I Have to Sign Up for Instagram Messaging with My Facebook Login?
I cannot connect my Page to InstaChamp
InstaChamp Sign-up Process
My Facebook Page is connected to MobileMonkey. Can I still use InstaChamp?
How to Create Autoresponders on InstaChamp
How do I link my Instagram Account to a Facebook Page?
Troubleshoot: Autoresponders not sending
How do I switch to an Instagram Business Account?
Basic Guide to Autoresponders
How do I enable third-party access to messages?
How do I find my InstaChamp Ambassador referral link and get credit for sales I make?
How to Use the InstaChamp Ambassador Share Banner Library to Monetize Your Audience
WordPress Plugin
- All Categories
-
- Book Appointments Chat Starter Template
Book Appointments Chat Starter Template
Booking appointments is super easy with this MobileMonkey template.. There are only a few steps to get it up and running so you can start collecting booked appointment requests immediately.
Video Walkthrough
If you want to watch step by step how to install and configure this template watch the video below. All of the documentation is also below this video.
Part 1 | Install the Template
- From your MobileMonkey dashboard click on the settings icon on the far right.

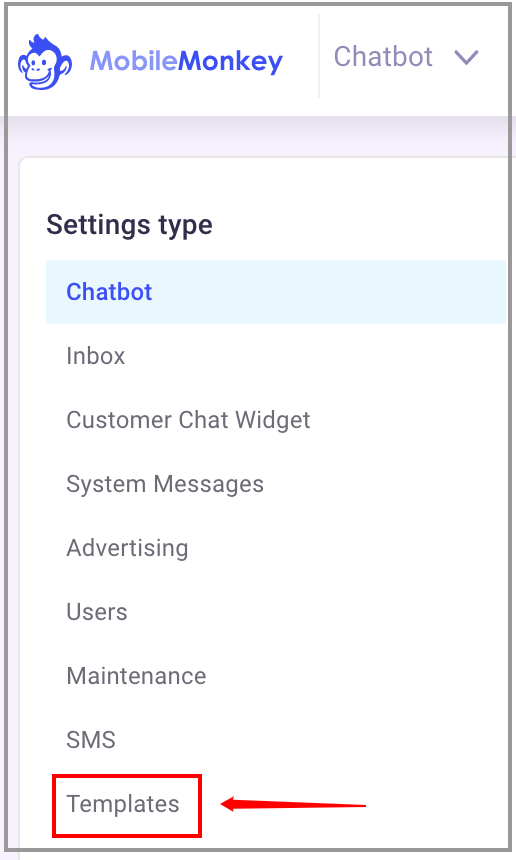
- Now click on the "Templates" link on the bottom left.
- Look for the "Book Appointments" template and click on the image.
- Choose "Create New Bot".
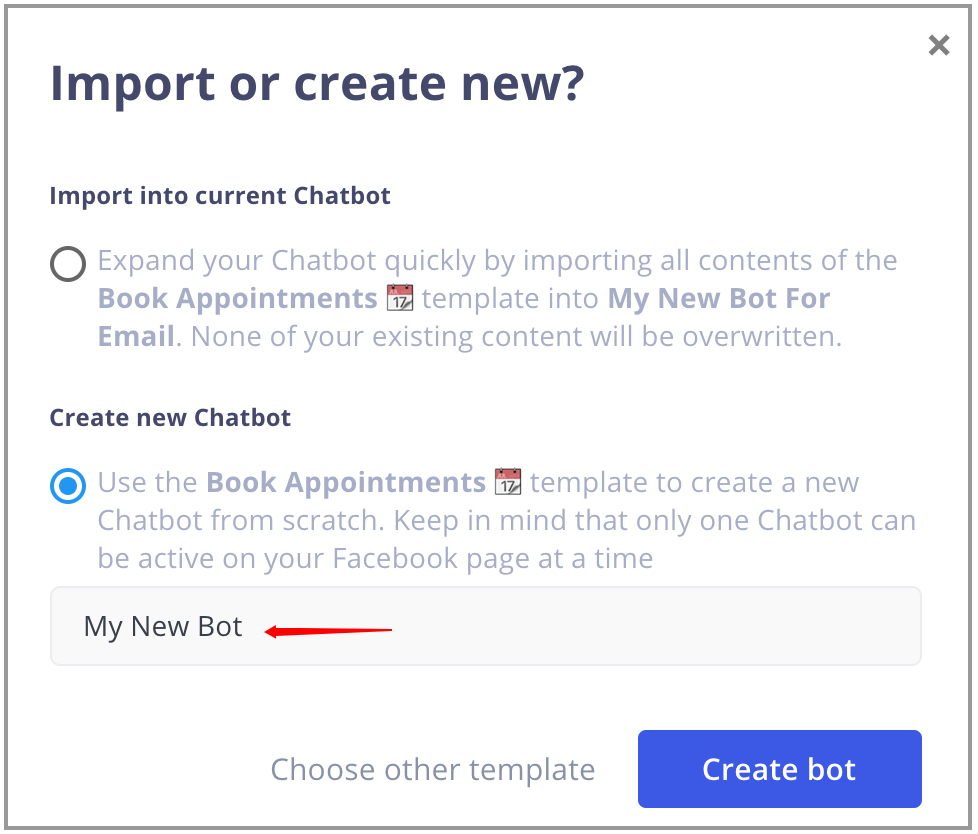
You will see your template being installed and when it's ready you will see the following message.
- Click the "Take me there" button.
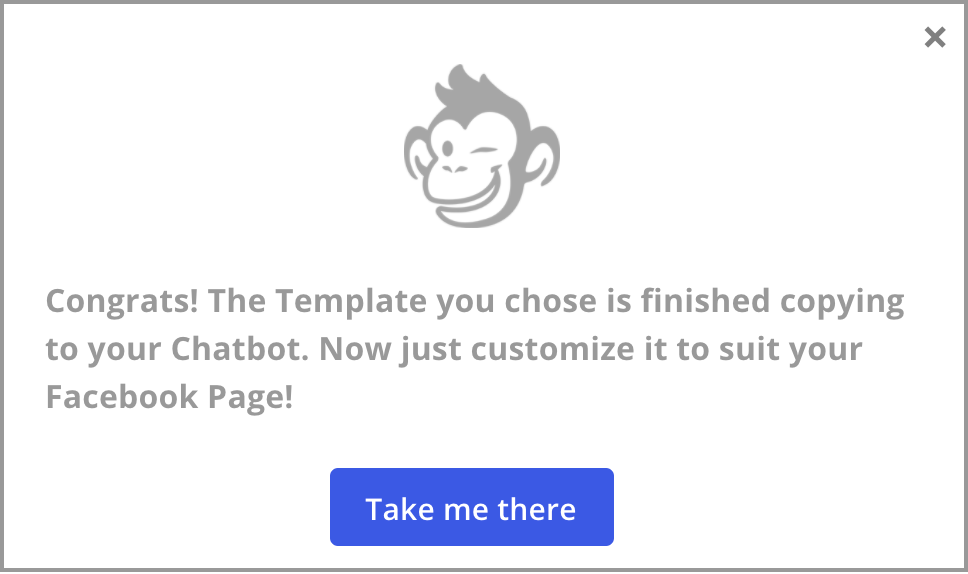
This will take you to your newly installed bot. Now you just need to make a few updates and you'll be ready to start getting leads.
Part 2 | Configure your Facebook Page Welcomer
This Chat Starter Template has been created for you to be able to get started right away with little configuration. There are only a few things you need to update.
Once you are done updating you can activate your bot and start using it.
- The first thing you want to do is click on "Chat Starters" link on the top left.
Then click on the "Facebook Page Welcomer" link on the right side.
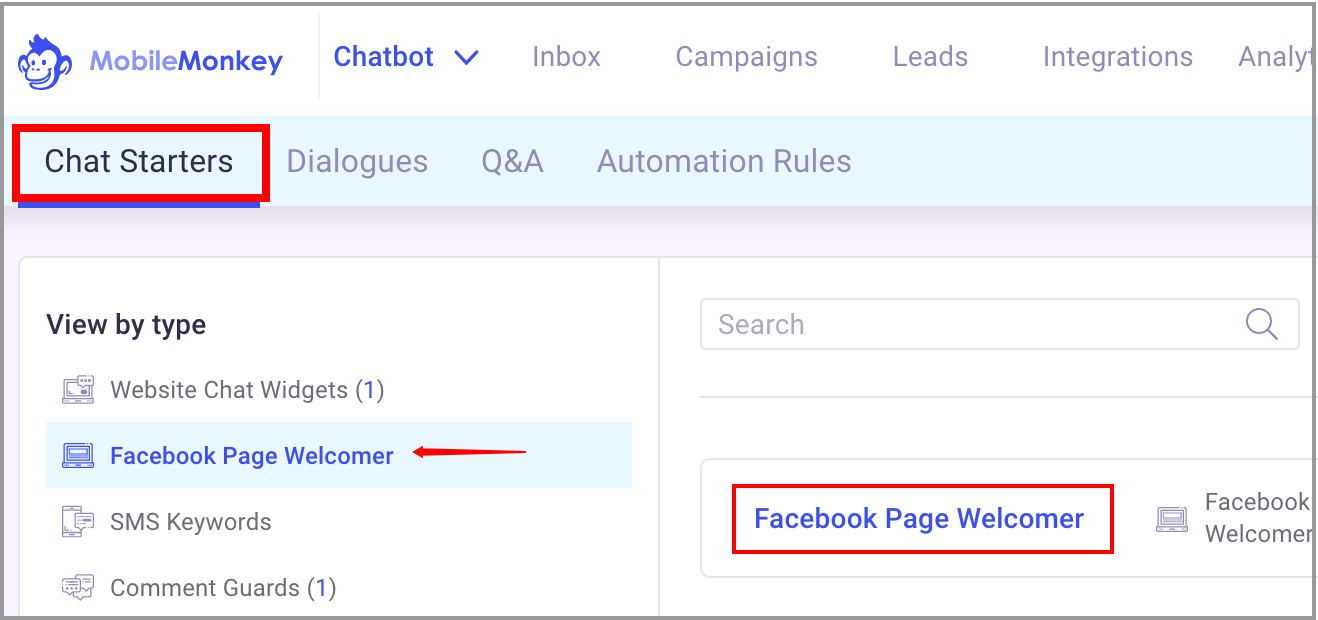
You will now see the main Chat Starter.
Here you will see the main bot that we have created for you. The first thing you need to configure here is the first message.
- Replace "{{company name}}" with your company name. You can also add more if you want.
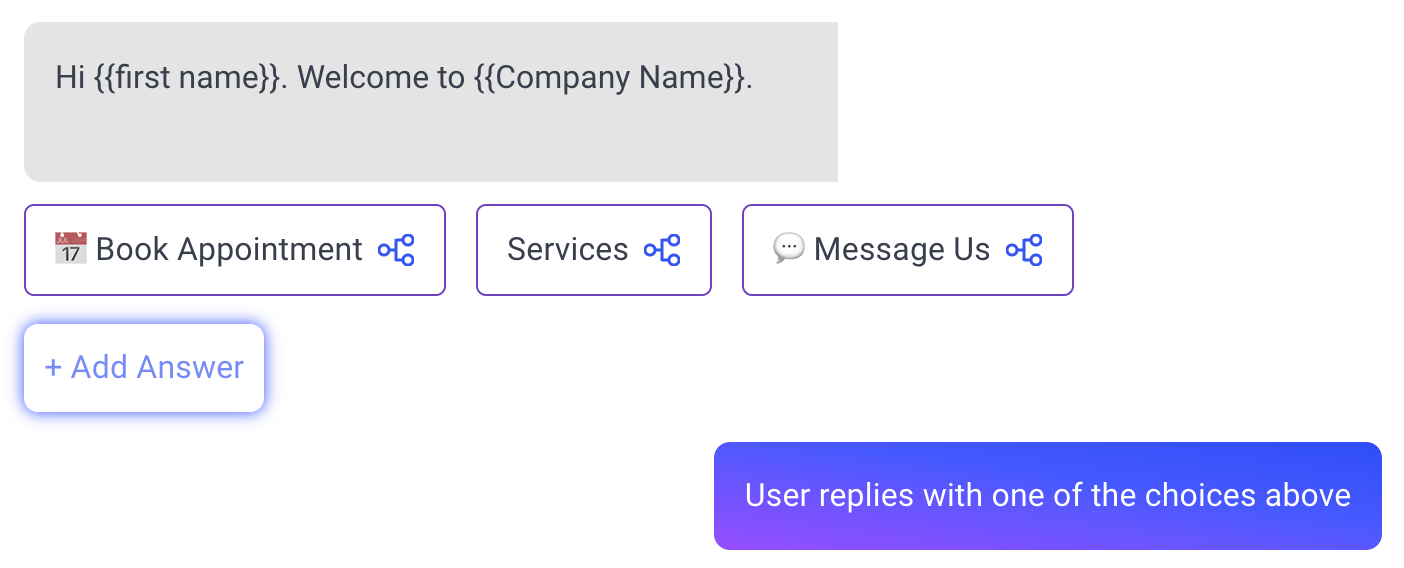 |
- Now click on the "Book Appointment" button and you will see the dialogue. There are a few things we need to modify here.
- Scroll down till you see the following image.
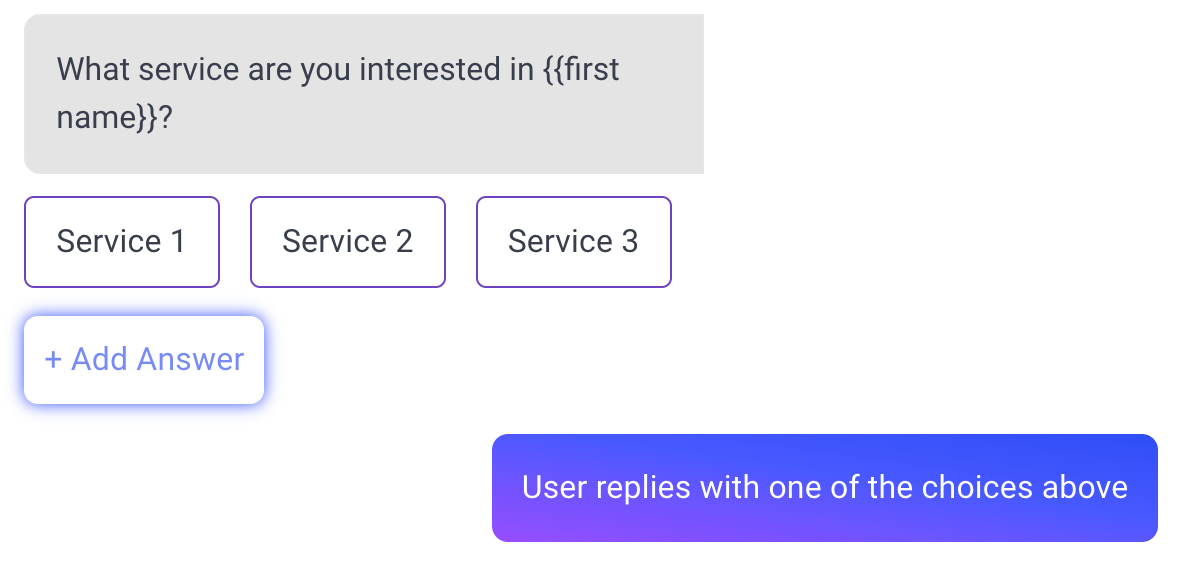 |
For this start template we have added 3 buttons for 3 services that you may have. You can add or remove these to fit your business.
- Click on the first button to rename it to match your services. Continue to do this for the rest depending on how many you choose to use.
- Now scroll down till you see the following image.
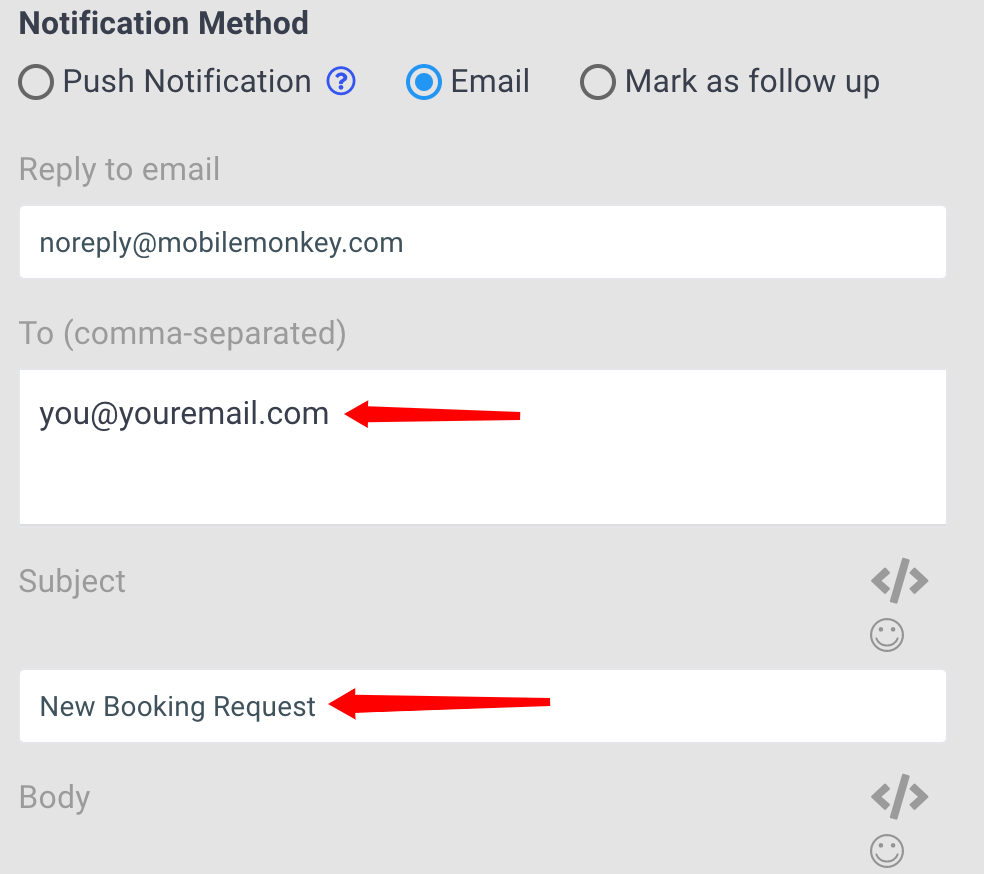 |
- Change the "To" email to your email address. This will allow you to get notified anytime someone requests an appointment.
- Now scroll back to the top and click on the next button which is "Services". You will want to match the number of services here as you have in the book appointments section.
- Scroll down until you see the following image:
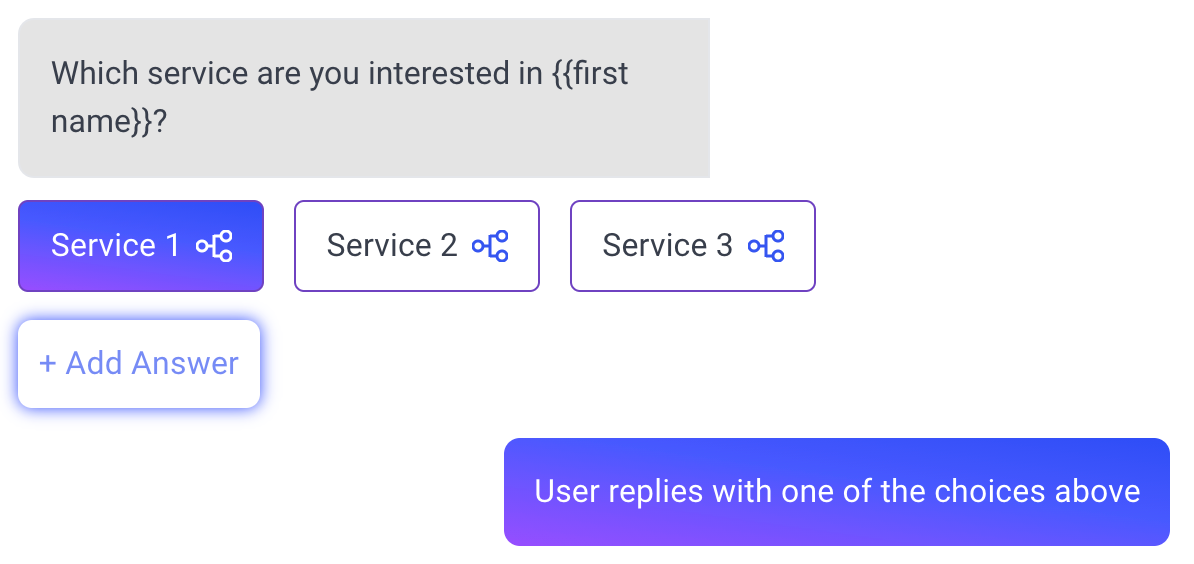 |
- Now click on the first button that says "Service 1". Rename it and then scroll down a little bit till you see this next image.
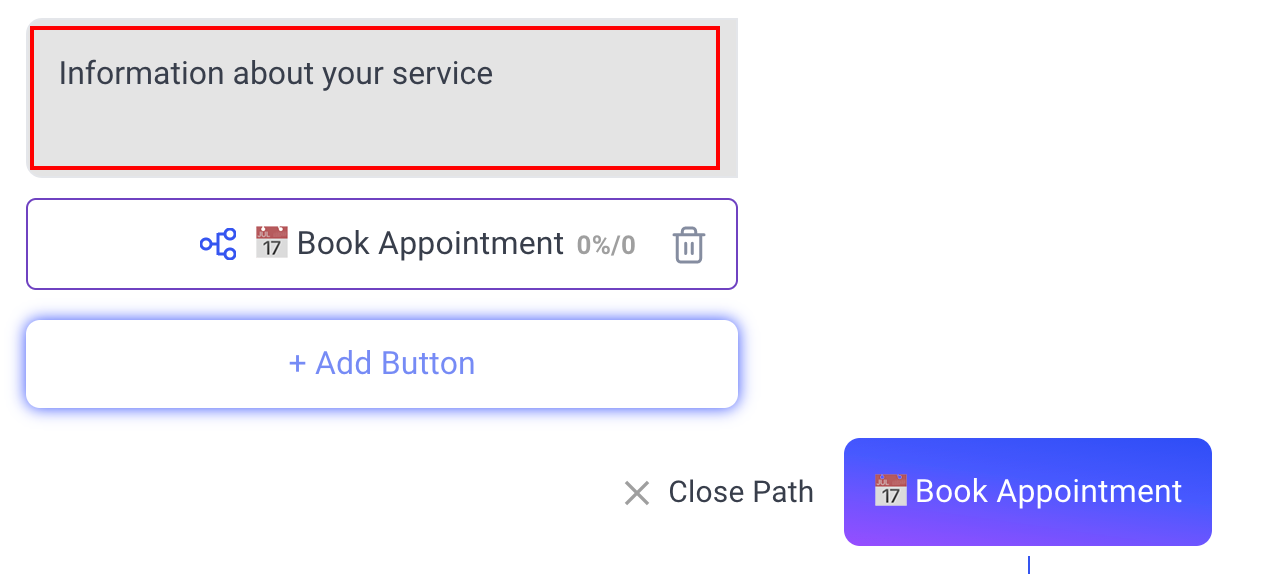 |
- Now where is says "Information about your service", go ahead and type a short description about this service. You can add up to 540 characters.
Continue this same process for the other service buttons and your Facebook Welcomer is ready to go.
Congratulations! You have configured your chatbot.
