Contest Chat Starter Template
Creating a contest to get leads is easy with this MobileMonkey template.. There are only a few steps to get it up and running so you can start collecting leads immediately.
Video Walkthrough
If you want to watch step by step how to install and configure this template watch the video below. All of the documentation is also below this video.
Part 1 | Install the Template
- From your MobileMonkey dashboard click on the settings icon on the far right.

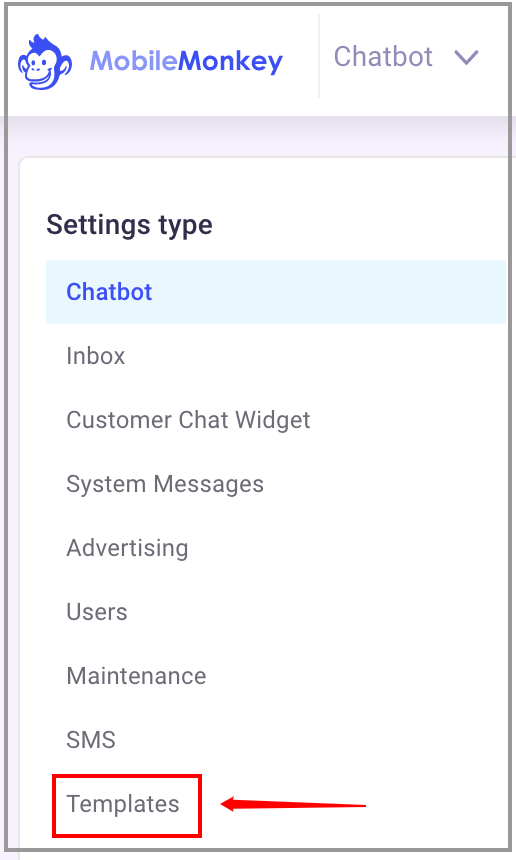
- Now click on the "Templates" link on the bottom left.
- Look for the "Build Email List" template and click on the image and click on it.
- Choose "Create New Bot".
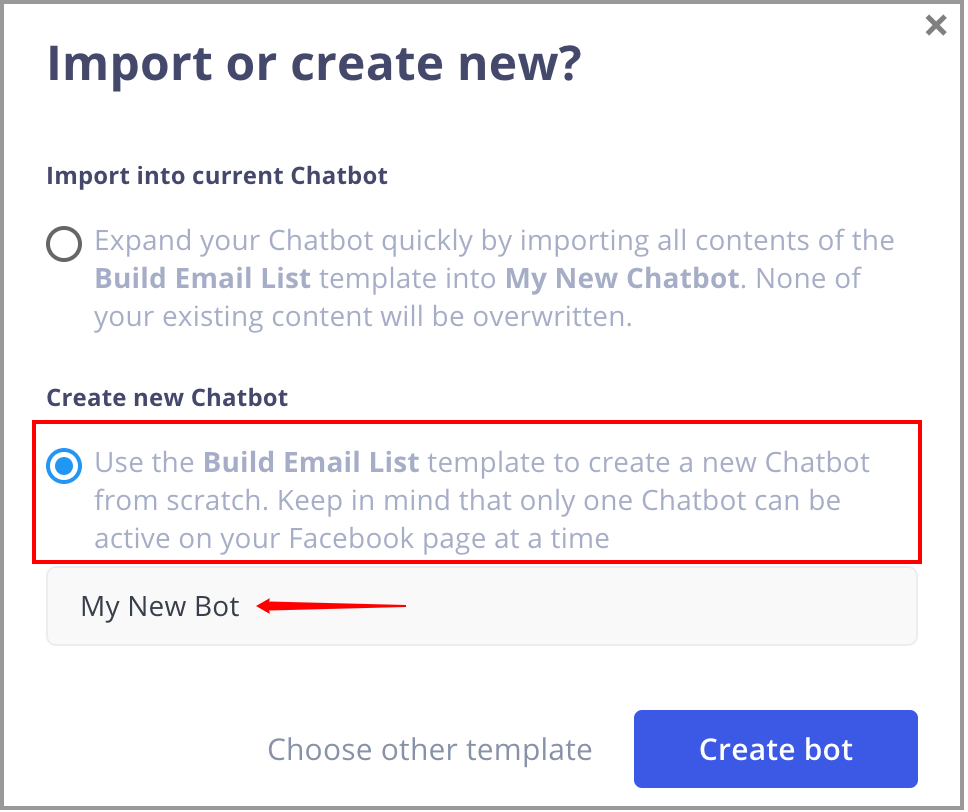
You will see your template being installed and when it's ready you will see the following message.
- Click the "Take me there" button.
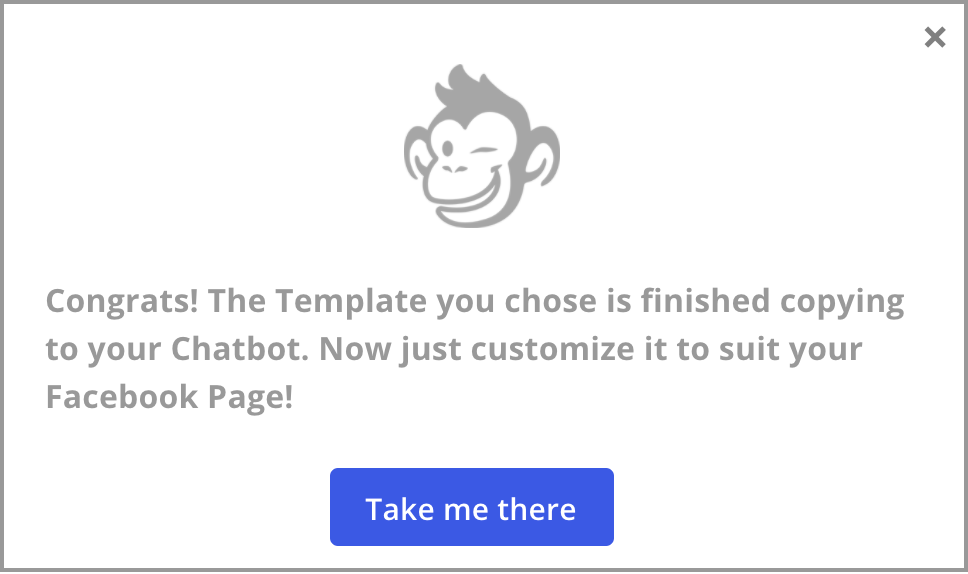
This will take you to your newly installed bot. Now you just need to make a few updates and you'll be ready to start getting leads.
Part 2 | Configure your Facebook Page Welcomer
This Chat Starter Template has been created for you to be able to get started right away with little configuration. There are only a few things you need to update.
Once you are done updating you can activate your bot and start using it.
Below this helpdoc we will provide links to some helpful information to further build out your bot when you're ready.
- The first thing you want to do is click on "Chat Starters" link on the top left.
Then click on the "Facebook Page Welcomer" link on the right side.
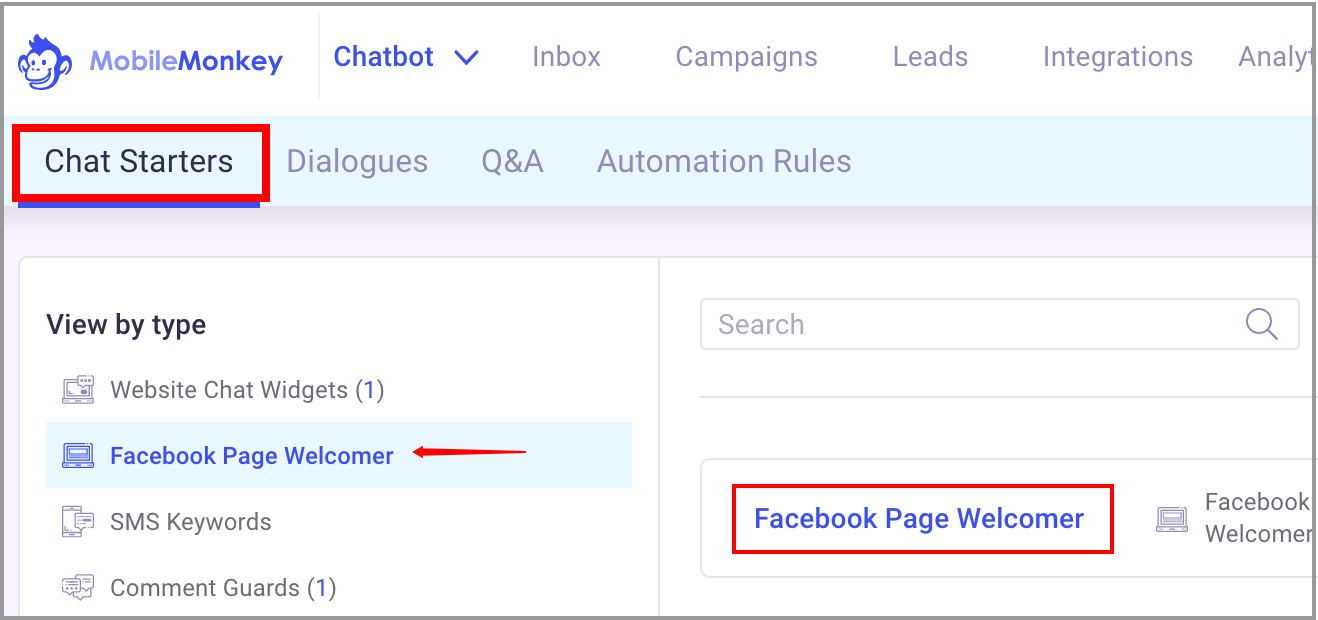
You will now see the main Chat Starter.
Here you will see the main bot that we have created for you. The first thing you need to configure here is the first message.
- Update the text message if you want to make the offer specific to your business. We have made it generic enough to where you don't have to if you don't want to.
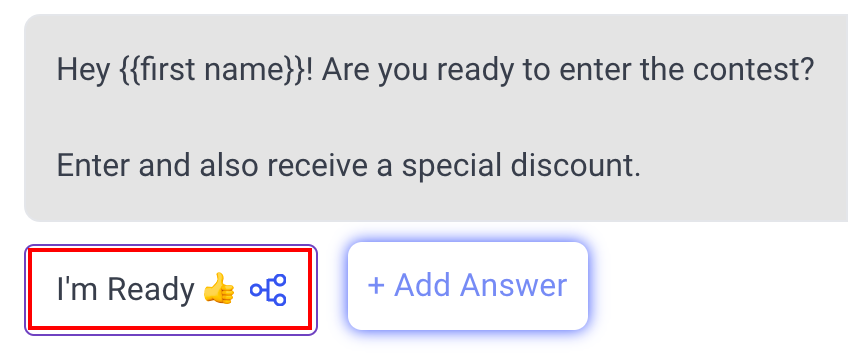 |
- The next thing you want to do is click on the button that says "I'm Ready" and rename it if you want to.
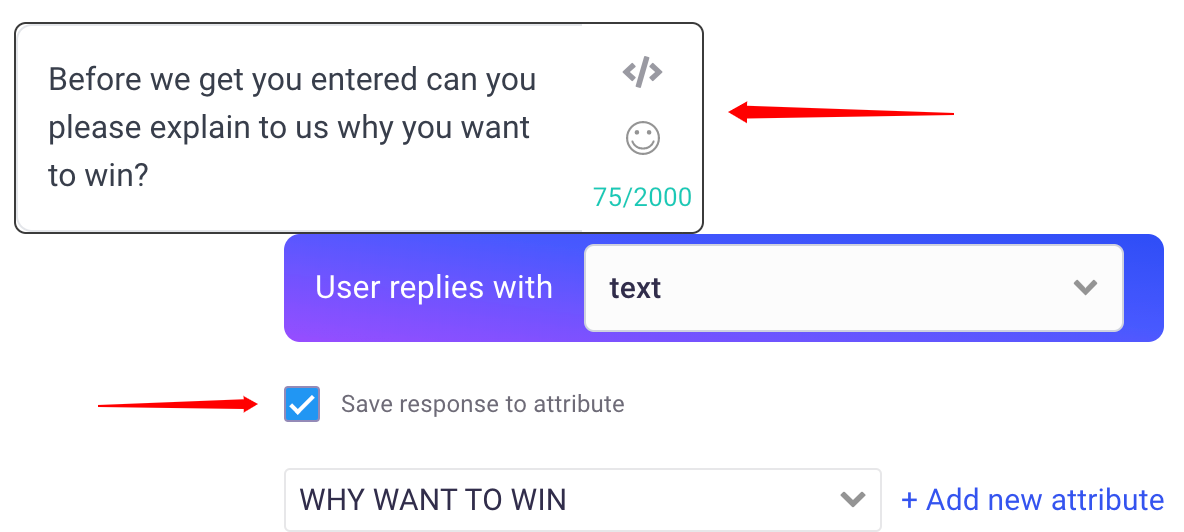
- Scroll down a little bit and modify the text if you want to. We have selected the "Save response to attribute and named it "WHY WANT TO WIN". The reason we have done this because we have created a custom audience to capture their responses.
 |
- Now scroll down the page till you see the following image. This is a gif image we chose but you can click on it and choose another one or you can delete it if you want.
 |
- Scroll down a little more till you see the following image.
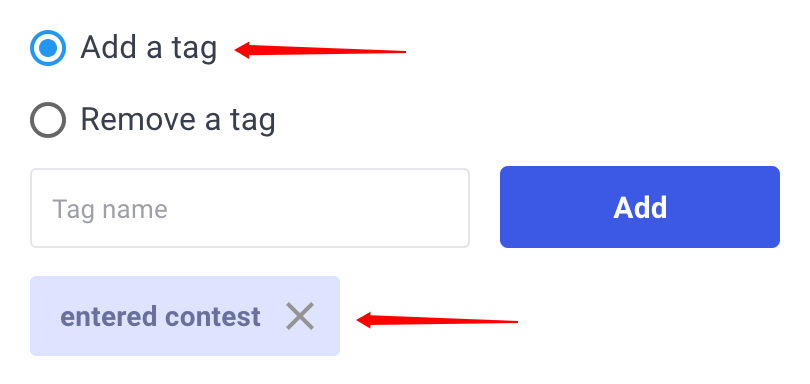
We have added a tag for you and the reason we have done this is to create a custom audience of all of those who entered your contest.
 |
- Now scroll down and click on the "Notify Me" button.
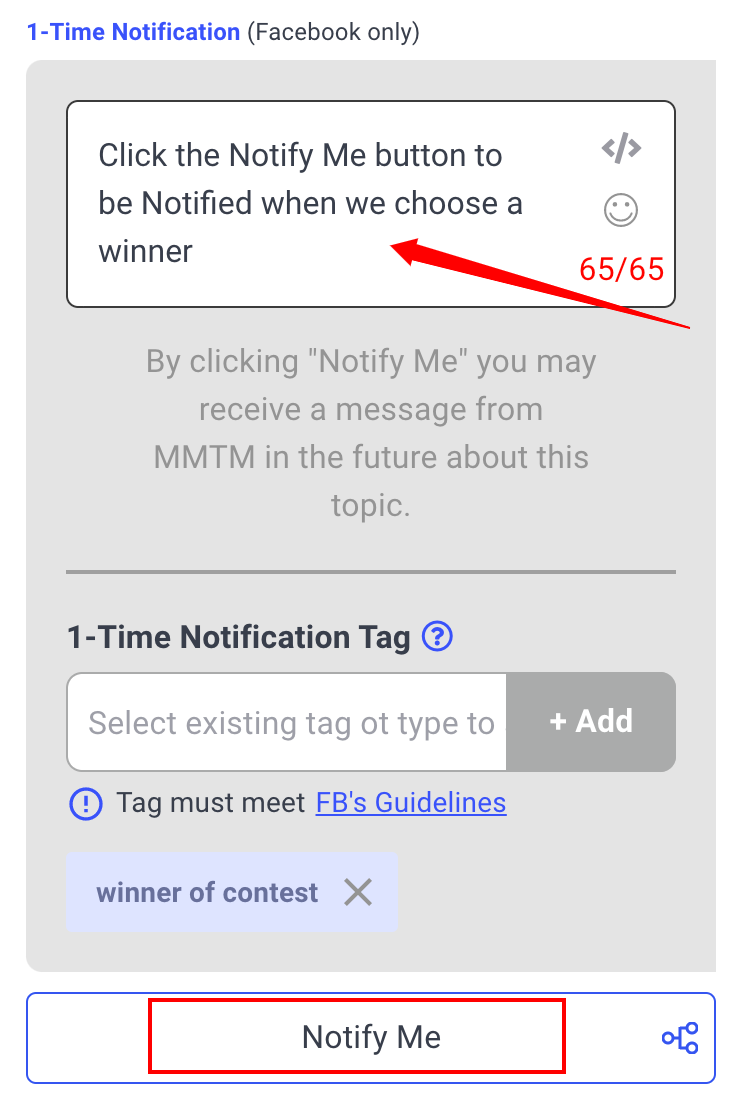 |
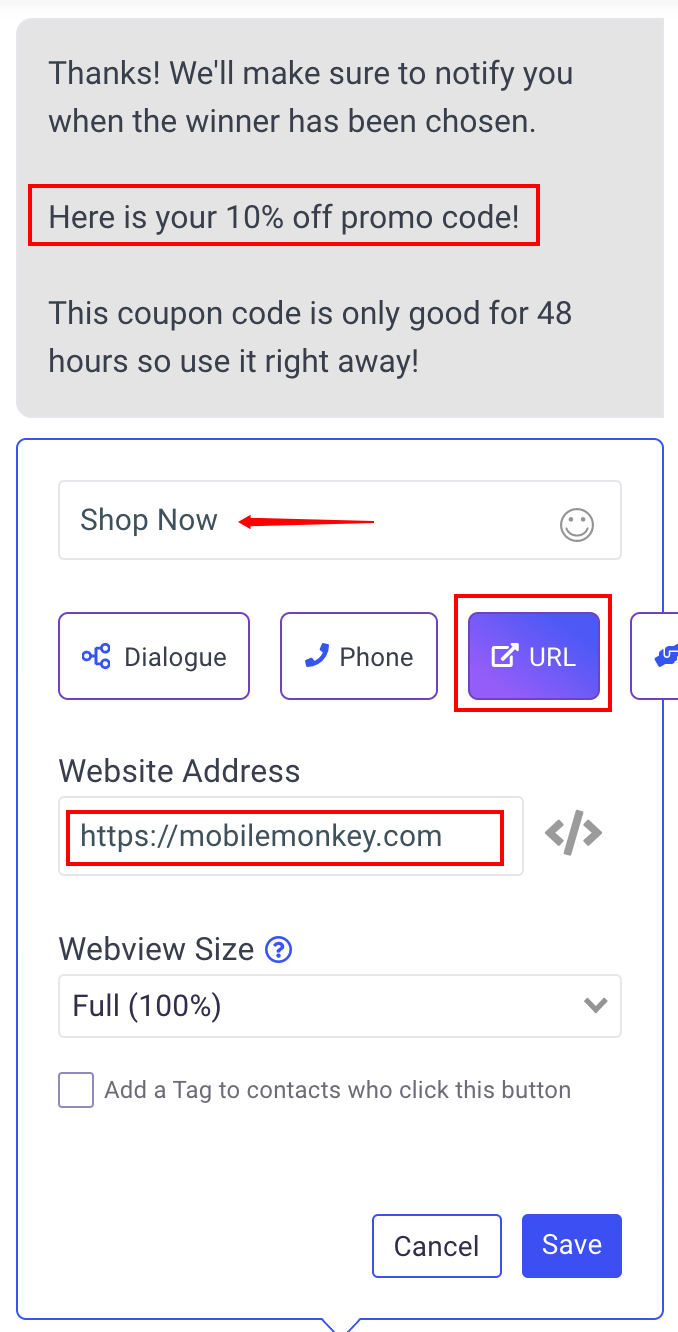
- You will now see the following widget. You can modify the promo code if you want to and the button name. The other thing you want to do is make sure you change the website address to your website.
 |
- Now scroll to the top and click on the "Back Button" on the top left.
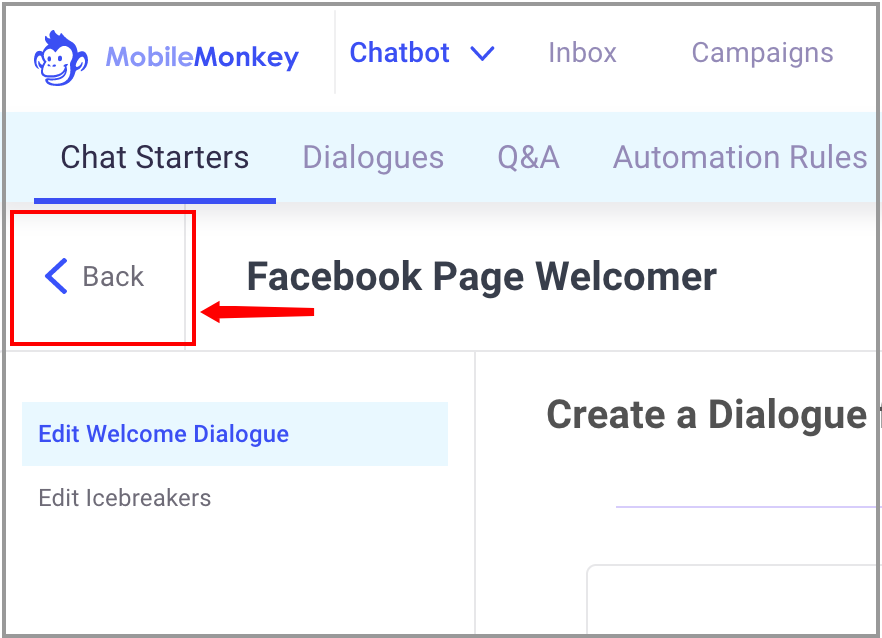
This will bring you back to the main menu with all of the chat starters.
Part 3 | Activate your Website Chat Widget
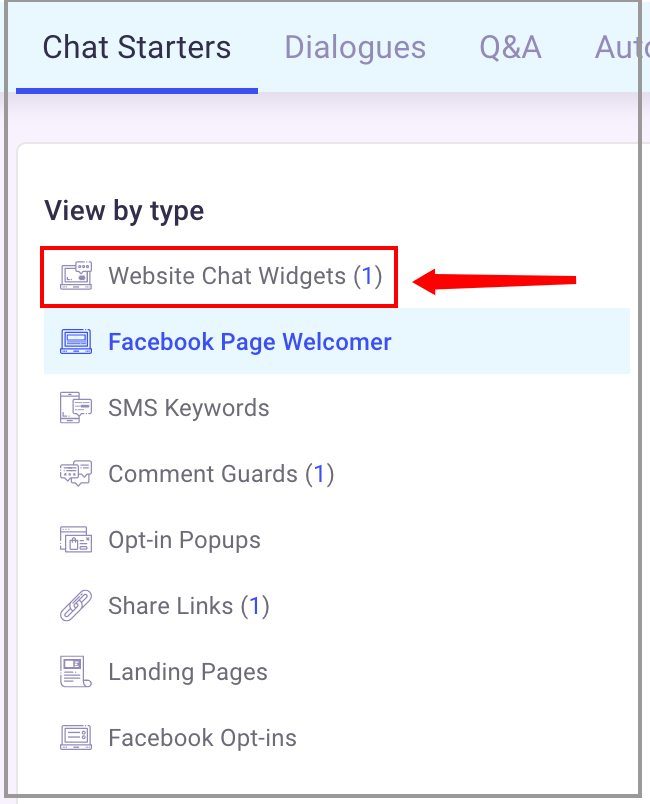
- Choose the "Website Chat Widgets" link.
- Click on the Website widget
- Activate the website widget by toggling the status button to on in the upper right corner.
- Install the code on your website. Click the link below to see the instructions.
Let's move on to the next section. Go ahead and click the "Back Button" to get back to the main chat starters menu and click on the "Comment Guards".
Part 4 | Activate your Comment Guard
- Choose the "Facebook Comment Guards" link.
- Click on the Facebook Comment Guard.
- Activate the comment guard by toggling the status button to on in the upper right corner.
Part 5 | Activate Your Drip Campaign
- Click on the "Campaign" link on the main top navigation. Then click on "Drip Campaigns".
- Choose the Drip Campaign
- Click on the "Start" button in the upper right corner.
You will be asked to activate your chatbot if you have not done so already.
Congratulations! You have configured your chatbot.
